Angular CLI Tutorial (Install & Commands)
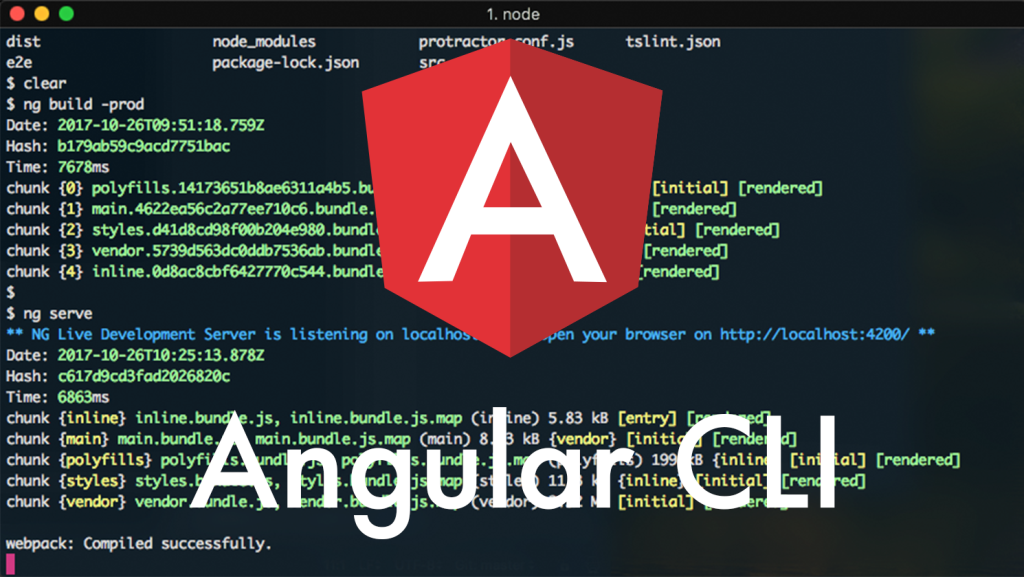
The Angular CLI (command line interface) is a tool to initialize, develop, scaffold and maintain Angular application following best practices.
Installation
First of all make sure you have npm installed. If you don’t know what npm is navigate to node.js first. To install the Angular CLI just open terminal (cmd + N) and run this command:
npm install @angular/cli -g
The -g flag stands for global, so you are able to use it anywhere on your computer, not just in your current location. The terminal output should look like this:

Angular CLI install process

Angular CLI installed
And you are done. Now you are able to create, generate, serve and maintain (test, lint and format) your angular app.
Generate new project
OK, now examples. For me the biggest advantage in compare to classic methods in creating project. The new command. Usage is pretty easy. Just navigate to folder you want to create the project, for example to your destop:
cd ~/Desktop
And run the awsome ng new command with name of your app, for example “my-app”:
ng new my-app
You should end up with something similar to this:

Angular CLI generating new project
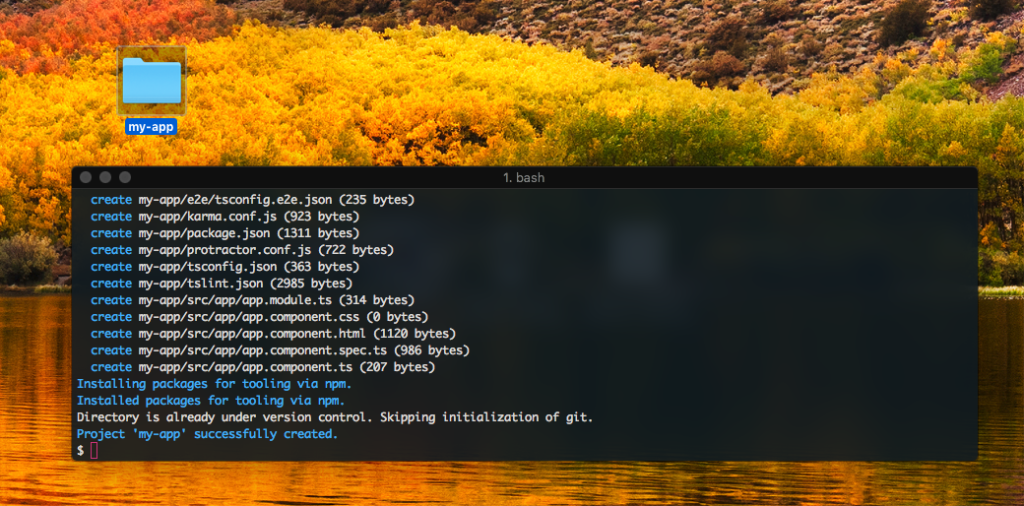
Angular CLI generated project folder and terminal output

Angular CLI generated project file structure
Development
Now when you have your project generated we can start our live-reload development server. First of all navigate to the newly created project folder:
cd myapp
and run the ng serve command:
ng serve
You should see similar output:
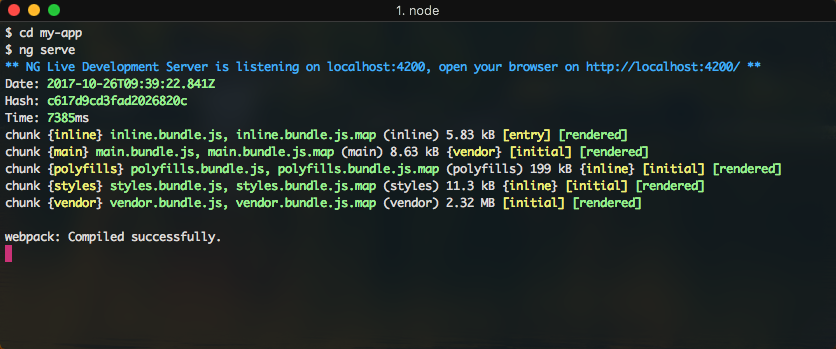
Angular CLI serving with ng serve command
Andwhen you navigate to http://localhost:4200 in your browser, you will see the default project component:
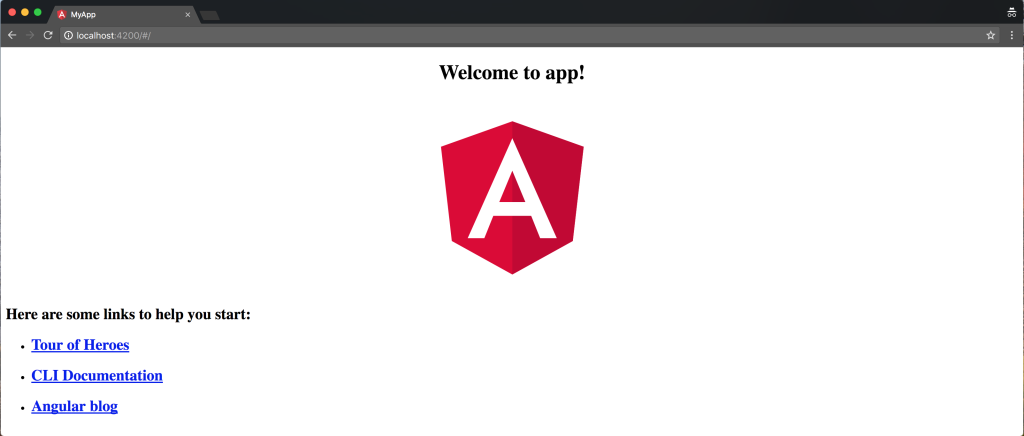
Angular CLI generated project served on http://localhost:4200/
Build
To distribute your app you have to create the production version, that you can place to the server. With ng-build command:
ng build -prod
The production bundle is created and placed in dist folder located in you project folder.
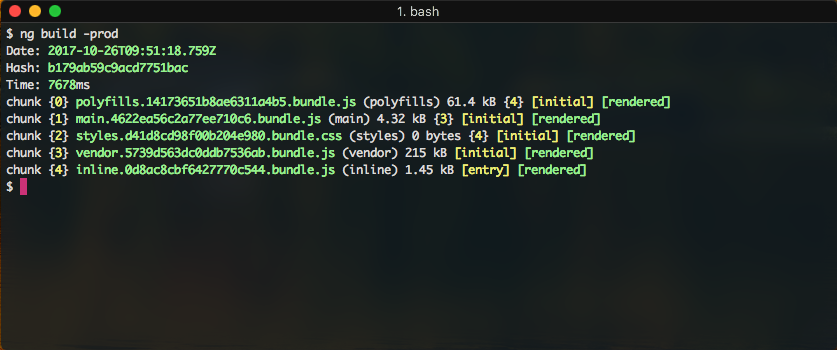
Angular CLI build output (ng build -prod)

Angular CLI dist folder created with build process
On top of it when you run ng build command with -prod flag, the AOT compilation is in place. No setting needed!
 Out of coffee
  , please help!
