Headless Ubuntu Server for IB Gateway/TWS
This is one of my bigger articles and I find it quite useful, because when I was googling about this topic I have found very few good tutorials. Running the IB TWS/Gateway is not possible in Linux without an X server to handle the GUI. To “fake” it we can use Xvfb aka x virtual framebuffer. So we are able to set up our server to host Interactive Brokers Gateway/TWS so we can run our robot or have multiple connections (clients) with different ip addresses.
In this cheat sheet, largely inspired by [5], I will go through
- Connecting to server over ssh
- Installing x virtual framebuffer
- Installing VNC server
- Installing Interactive Brokers TWS
- Setting up IBController
- Creating start up services
Let’s Start!
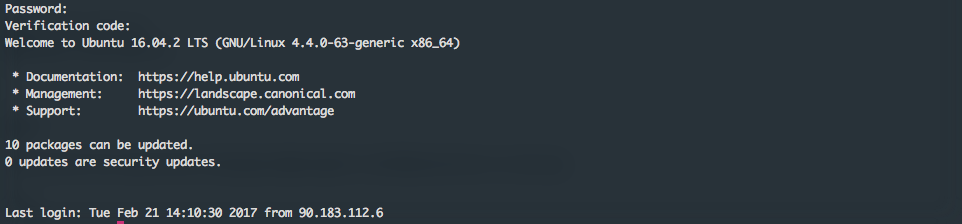
So let’s start with simply connecting to our server with ssh command. In this snippet ubuntu is login name and 44.33.222.111 is server ip address.
ssh ubuntu@44.33.222.111
In Ubundu enviroment you should see something similar to this output:
Now become sudoer and install xvfb.
sudo -i
apt install xvfb
/usr/bin/Xvfb :0 -ac -screen 0 1024x768x24 &
Now we will install and run x11vnc, which is our vnc server. We will use it for displaying TWS UI and changing settings. Note the -localhost flag. For connecting we will use ssh tunnel, so we don’t have to set password.
apt install x11vnc
/usr/bin/x11vnc -ncache 10 -ncache_cr -display :0 -forever -shared -logappend /var/log/x11vnc.log -bg -noipv6 -localhost
TWS Install
Now we will install TWS. If you want to use IB Gateway rather, you can choose between installing TWS which contain IB Gateway installation or installing separate copy of IB Gateway. You should just make sure, that you installing offline version, because auto updating version doesn’t work with IBController. To download it just google for “ib tws offline” then copy download link and use wget command. Then we use chmod to make shell script executable and run it in display 0 enviroment, which is out x virtual framebuffer.
mkdir ~/tws
cd ~/tws
wget https://download2.interactivebrokers.com/installers/tws/latest-standalone/tws-latest-standalone-linux-x64.sh
chmod a+x tws-latest-standalone-linux-x64.sh
DISPLAY=:0 ./tws-latest-standalone-linux-x64.sh
Now connect over VNC to the server and go through the installation process. Because we have configured our VNC server to run on localhost, we have to use SSH tunnel to connect. So download and install your favourite VNC client, I’m using tightVNC. Create SSH tunnel (on your local computer not on the server) and connect.
ssh -L 5900:127.0.0.1:5900 -N ubuntu@44.33.222.111
Go through the installation process. When you are done don’t run the TWS and close the installer.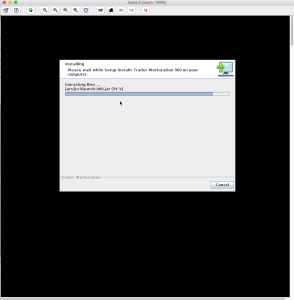
Now we go to the Jts folder and run the TWS from command line.
cd /root/Jts/963
DISPLAY=:0 ./tws
IB Controller Install
After installing TWS/Gateway create folder and download IB Controller, then extract it.
mkdir ~/ibcontroller.paper
cd ~/ibcontroller.paper/
wget https://github.com/ib-controller/ib-controller/releases/download/3.2.0/IBController-3.2.0.zip
apt install unzip
unzip ./IBController-3.2.0.zip
Now open IB Controller start script with you favourite editor and set TWS, logs and IB Controller ini file paths.
nano ~/ibcontroller.paper/IBControllerStart.sh

After this create hash of your password, that you will use in ini file.
java -cp IBController.jar ibcontroller.IBController encrypt mysecretpassword

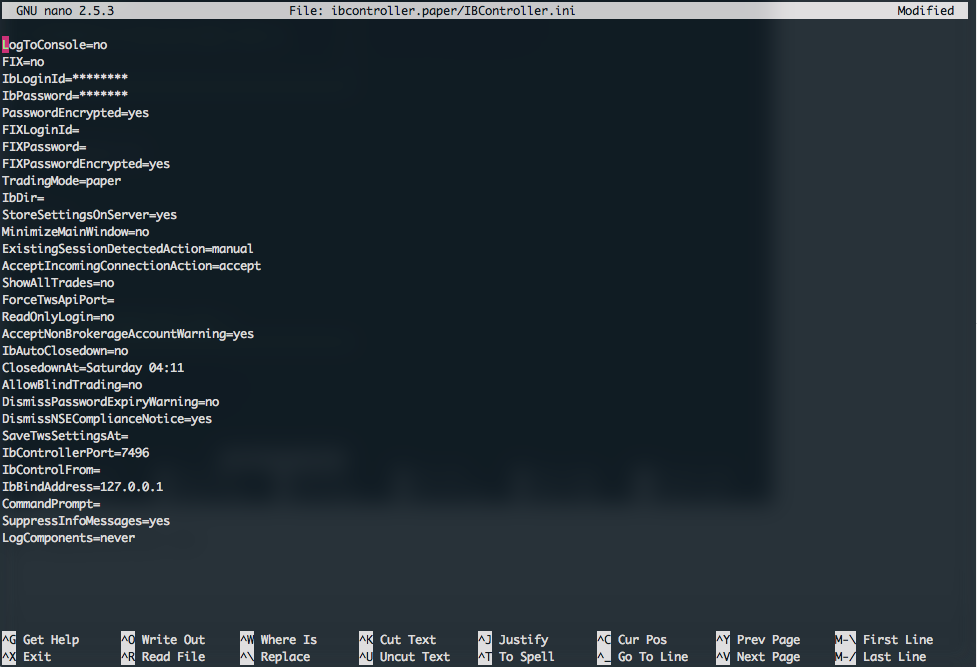
Now when you have your password hash edit IBController.ini. Below is truncated version of my ini file. Note: ******* stands for your real username/password.
nano ~/ibcontroller.paper/IBController.ini
Now navigate to ibcontroller.paper folder and make .sh files executable. Than run IB Controller.
cd ~/ibcontroller.paper
chmod a+x IBControllerStart.sh
chmod a+x /root/ibcontroller.paper/Scripts/*.sh
DISPLAY=:0 ./IBControllerStart.sh
Start Up Services
When all is set and running, we will automated it, so when you reboot your system IB Controller, Xvfb and VNC is restarted. To do it we will create .service files in /lib/systemd/system and enable them with systemctl. We will start with Xvfb. So create file with touch command …
touch /lib/systemd/system/xvfb.service
… and place below script in it.
[Unit]
Description=Job that runs the Xvfb - Virtual Framebuffer 'fake' X server
After=network.target

[Service]
ExecStart=/usr/bin/Xvfb :0 -ac -screen 0 1024x768x24
Restart=always

[Install]
WantedBy=multi-user.target
Then do the same for VNC.
touch /lib/systemd/system/vnc.service
[Unit]
Description=Job that runs the VNC server to allow remote access to an existing X session
Requires=xvfb.service
After=xvfb.service

[Service]
Type=forking
ExecStart=/usr/bin/x11vnc -ncache 10 -ncache_cr -display :0 -forever -shared -logappend /var/log/x11vnc.log -bg -noipv6 -localhost
Restart=always

[Install]
WantedBy=multi-user.target
And for IB Controller.
touch /lib/systemd/system/ibcontroller-paper.service
[Unit]
Description=Job that runs the IBController for paper account
Requires=xvfb.service
After=xvfb.service

[Service]
Type=forking
Environment='DISPLAY=:0'
ExecStart=/root/ibcontroller.paper/IBControllerStart.sh
Restart=always

[Install]
WantedBy=multi-user.target
Now enable these services with systemctl command and reboot to verify its functionality.
systemctl enable vnc.service
systemctl enable xvfb.service
systemctl enable ibcontroller-paper.service
reboot
We are done. You can either run your robot on server or connect through ssh tunnel now.
References:
[1] thealgoengineer.com – IB Headless
[2] github.com – IB Controller
[3] groups.io – IB Controller group
[4] medium.com – Installing interactive brokers IB Gateway and TWS API for Linux
[5] groups.io – How to setup IBController (3.2.0) + TWS (build 956) on headless Ubuntu 16.04 LTS to run TWO accounts (paper + real) in 10 minutes
[6] Dmitry’s TWS API FAQ
 , please help!